

In breve:
- Preparing your home for professional photography involves decluttering, staging, and lighting optimization multiple weeks before the shoot. Decorating by subtraction and opening all light sources creates the best images that attract potential guests and increase interest. Working with a professional photographer through a managed service ensures consistent quality and reduces preparation errors for optimal listing results.
Preparing your home for professional photography is the process of making your property visually compelling through decluttering, lighting optimisation, and staging prior to the shoot. The quality of your listing images directly affects how many potential guests click through, enquire, and ultimately book. Properties with well-prepared, professionally shot images consistently attract stronger interest and command higher nightly rates. This guide covers every stage of that preparation, from clearing surfaces to managing outdoor spaces, and explains why working with a professional operator like Guestly Homes removes the guesswork entirely.
How should you approach preparing your home for professional photography?
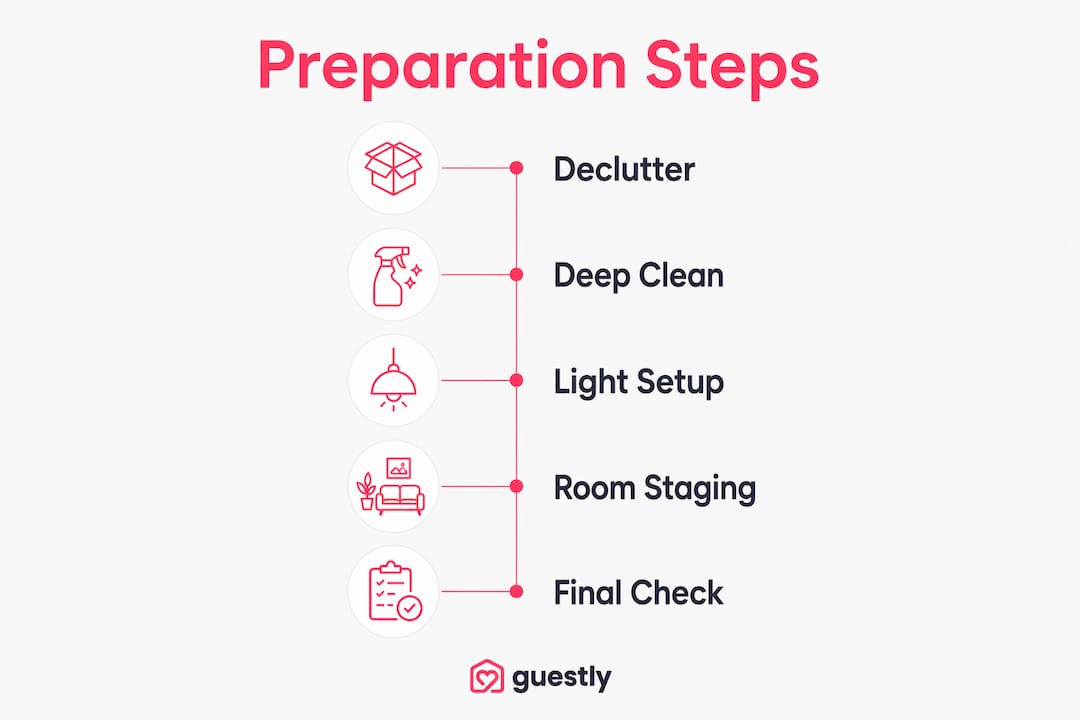
Decluttering is the single most impactful step you can take before a photographer arrives. Luis Perez, CEO of Remoov, describes effective staging as subtraction, not addition: removing unnecessary furniture and personal belongings creates neutral, inviting spaces that photograph far better than rooms filled with personality. The camera sees everything, and visual noise that the eye overlooks becomes a distraction in print.
Pre-listing preparation should begin 4–6 weeks before the shoot date. That timeline allows for deep cleaning, minor repairs, and considered staging without the pressure of a deadline. Rushing the process on the morning of the shoot produces lower-quality results.
Follow these steps to declutter effectively:
- Remove all personal photographs, certificates, and family memorabilia from walls and shelves
- Clear kitchen counters of toasters, coffee machines, drying racks, and any small appliances
- Strip bathroom surfaces of toiletries, soap dispensers, and personal care products
- Take out excess furniture that crowds rooms or blocks natural sightlines
- Remove children’s toys, pet accessories, and sports equipment from all visible areas
One detail many owners miss: storing clutter in closets signals limited storage to viewers. Remove items from the property entirely or place them in off-site storage before the shoot.
Pro Tip: Walk through every room holding your phone in camera mode before the photographer arrives. The lens catches stray cables, misaligned cushions, and cluttered corners that the naked eye ignores. This phone-camera walk-through takes fifteen minutes and prevents costly reshoots.
What lighting strategies enhance your home’s photography appeal?
Light is the single variable that separates a flat image from one that makes a viewer stop scrolling. The best lighting for home photos combines natural daylight with warm artificial sources, creating depth and a sense of warmth that draws the eye inward.
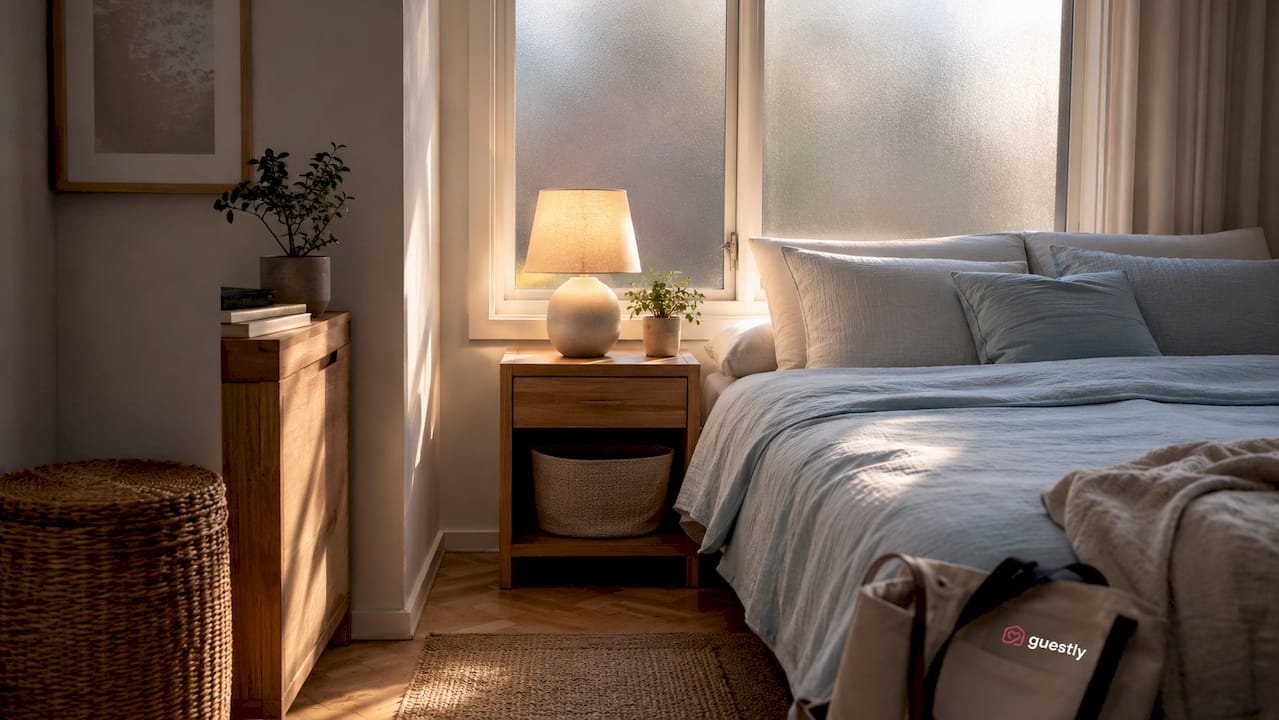
Open every curtain and blind fully before the photographer arrives. Even rooms that feel bright to the eye benefit from maximum natural light when captured on camera. Turn on all lamps, overhead fittings, and under-cabinet lighting simultaneously. The layered effect adds warmth and eliminates the flat, shadowless look that wide-angle lenses can produce.
Practical lighting steps to follow:
- Replace any cool or fluorescent bulbs with warm LED alternatives before the shoot date
- Turn on all light sources in every room, including hallway and bathroom fittings
- Remove heavy curtain panels temporarily if they block significant natural light
- Schedule the shoot for mid-morning when sunlight enters at a flattering angle
- Check for shadows cast by furniture or trees and reposition where possible
Seasonal timing matters. In Sweden and across the Nordics, winter shoots require careful scheduling around limited daylight hours. A mid-morning slot in december or january captures the best available light and avoids the flat grey tone of overcast afternoons.
Pro Tip: Replace bulbs at least 48 hours before the shoot. New bulbs sometimes flicker slightly when first installed, and a brief settling period produces steadier, more consistent light in the final images.
How to stage key rooms to improve photo quality
Room staging for photography follows one consistent principle: one clear focal point per room prevents visual competition and promotes a sense of spaciousness. Overcrowding rooms with competing décor is the most common staging error, and it shows immediately in photographs.
Living rooms
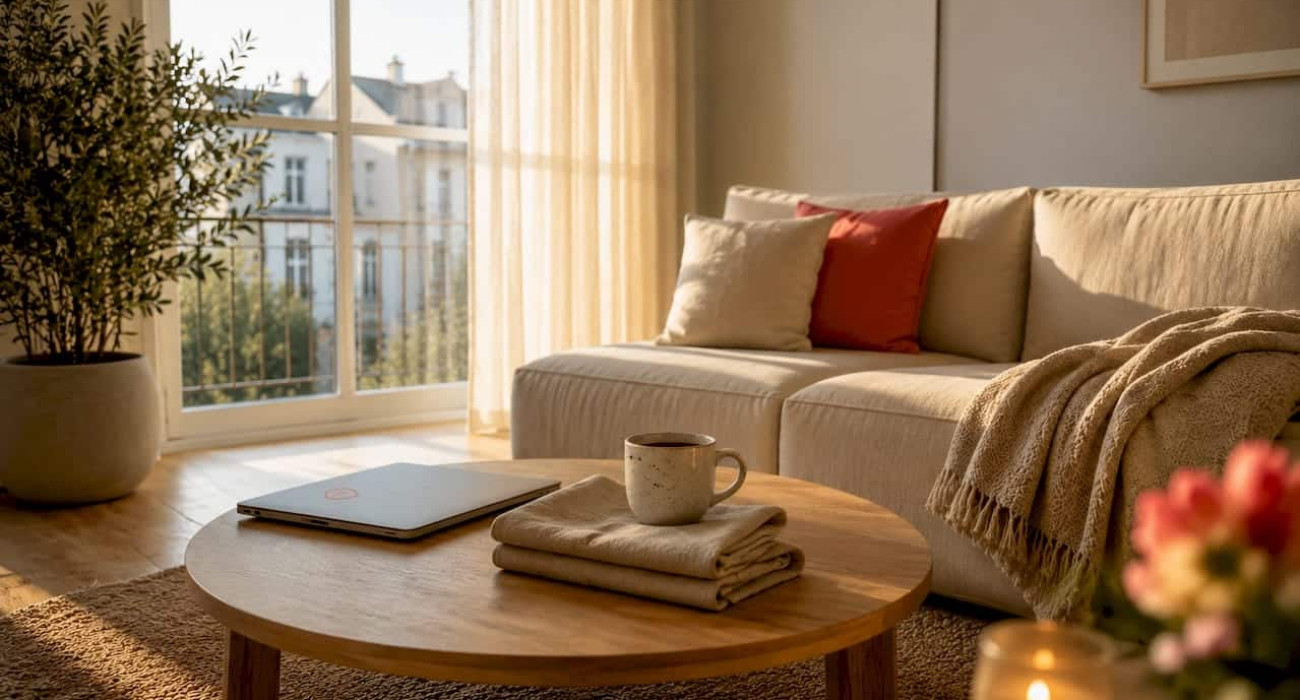
Arrange seating to face a natural focal point such as a fireplace, a large window, or a piece of artwork. Remove any additional chairs or side tables that crowd the space. A single styled coffee table with two or three objects, such as a book, a small plant, and a candle, reads as considered rather than cluttered.
Camere da letto
A well-made bed with neutral, pressed textiles is the centrepiece of any bedroom photograph. Use white or light grey bedding to maximise the sense of space and cleanliness. Remove all items from bedside tables except one lamp and one small decorative object. Mirrors placed opposite windows bounce natural light and make rooms appear larger on camera.
Kitchens and bathrooms
These two rooms require the strictest approach to surface clearing. Removing small appliances and toiletries from counters eliminates visual noise and allows the camera to capture the architecture and flow of the space. In bathrooms, replace everyday towels with fresh, neatly folded white towels. A single plant or small candle adds warmth without clutter.
Staging priorities by room:
- Living room: clear focal point, minimal accessories, furniture arranged for flow
- Bedroom: neutral bedding, clear surfaces, mirrors positioned for light reflection
- Kitchen: empty counters, clean appliances, one or two styled elements only
- Bathroom: white towels, cleared surfaces, one decorative accent
What outdoor preparation steps boost curb appeal?
The exterior of a property forms the first impression in any listing. Outdoor spaces that appear tidy, well-maintained, and welcoming in photographs signal the same standard inside. Owners who invest time in exterior preparation see a measurable difference in the quality of their listing’s opening images.
Steps to prepare outdoor spaces:
- Mow the lawn and trim all hedges and borders at least two days before the shoot
- Remove vehicles, wheelie bins, garden hoses, and any tools from sight lines
- Sweep all pathways, patios, and entrance steps thoroughly
- Arrange outdoor furniture to suggest a welcoming seating area rather than storage
- Add one or two seasonal touches such as potted plants or a door wreath, without overcrowding
| Outdoor area | Key action | Timing |
|---|---|---|
| Lawn and garden | Mow, trim, and edge borders | 2 days before shoot |
| Pathways and patio | Sweep and wash surfaces | Day before shoot |
| Outdoor furniture | Arrange and clean all pieces | Morning of shoot |
| Entrance and front door | Clear clutter, add one accent | Morning of shoot |
| Vehicles and bins | Remove from all sight lines | Before photographer arrives |
Schedule outdoor shoots on bright, clear days. In the Nordics, late spring and summer mornings offer the most flattering natural light for exterior photography. A clear blue sky adds depth and colour contrast that overcast conditions cannot replicate.
Why avoid DIY photos when working with a professional operator?
DIY property photography produces images that look rushed, poorly lit, and less flattering than the space deserves. Smartphone cameras, regardless of their technical specifications, cannot replicate the wide-angle lenses, lighting equipment, and post-processing that professional photographers use as standard.
A professional shoot lasts between 45 minutes and 2 hours depending on property size, with final edited images delivered within 48 hours. That turnaround is fast, and the output is consistent. Professionals know which angles make rooms appear larger, how to balance mixed light sources, and which details to emphasise for maximum impact.
“Decluttering and deep cleaning must be completed days in advance. Doing it on the morning of the shoot causes rushed, lower-quality photos that fail to represent the property accurately.” This is the most consistent finding from experienced property photographers, and it applies regardless of property size or budget.
Working with a professional operator removes the burden of coordinating the shoot entirely. Guestly Homes manages the photography preparation process from scheduling through to final image delivery, so owners do not need to manage photographers, review edits, or upload images manually. The result is a listing that performs from day one.
A thorough move-out cleaning workflow before the photographer arrives also makes a measurable difference. Clean surfaces, streak-free windows, and spotless floors show clearly in professional images and reinforce the quality signal that premium listings require.
Key takeaways
Preparing a home for professional photography requires systematic decluttering, considered staging, and careful lighting management completed well in advance of the shoot date.
| Punto | Dettagli |
|---|---|
| Start preparation early | Begin decluttering and staging 4–6 weeks before the shoot to avoid rushed results. |
| Declutter by subtraction | Remove personal items, small appliances, and excess furniture rather than rearranging them. |
| Maximise all light sources | Open all blinds and turn on every lamp and fitting to create depth and warmth in images. |
| Stage one focal point per room | Avoid competing décor; one clear focal point per room creates spaciousness in photographs. |
| Prepare outdoors with equal care | Tidy gardens, clear sight lines, and arrange furniture at least two days before the shoot. |
What I have learned about photography preparation that most guides miss
Joakim Thörn, Guestly Homes
The advice most owners receive focuses on what to add: fresh flowers, styled bookshelves, decorative cushions. My experience points in the opposite direction. The properties that photograph best are the ones where the owner has removed more than they thought necessary. A room that feels slightly sparse in person reads as spacious and calm on camera.
The second thing I have seen owners consistently underestimate is timing. Completing major preparation days in advance rather than the morning of the shoot changes the quality of the final images noticeably. When owners rush, they miss details. Cables remain visible behind sofas. A bin bag sits in the corner of the kitchen. The camera finds all of it.
Lighting is the third area where owners make avoidable errors. Turning on every light source in the property, including lamps in rooms that feel bright already, produces a warmth and depth that natural light alone cannot achieve. This is not about making the property look different from reality. It is about showing it at its best.
My practical recommendation: treat the shoot like a formal inspection, not a casual tidy. Walk through the property with a checklist, not a feeling. The owners who approach preparation methodically, using tools like the apartment maintenance checklist framework, consistently produce better listing images than those who rely on instinct.
— Joakim Thörn
How Guestly Homes supports owners through the photography process
Property owners who work with Guestly Homes do not manage photography alone. Guestly Homes coordinates the full shoot process, from preparation guidance through to final image delivery, as part of its managed property service.
The results are visible in every listing Guestly Homes operates. Properties like the modern luxury villa with lake view demonstrate what professional photography achieves when preparation and execution are handled to a consistent standard. Owners who want to understand the full listing process can also review the rental listing guide for a complete picture of how photography fits within the broader marketing approach. Guestly Homes manages the detail so owners focus on the outcome.
FAQ
How far in advance should I prepare my home for a photo shoot?
Pre-listing preparation should begin 4–6 weeks before the shoot date. Major decluttering and cleaning must be completed days in advance, with only light staging left for the morning of the shoot.
How long does a professional property photo shoot take?
A professional shoot typically lasts between 45 minutes and 2 hours depending on property size. Final edited images are usually delivered within 48 hours of the shoot.
What is the most effective home staging tip for photography?
Remove more than you think necessary. Staging by subtraction, clearing personal items, excess furniture, and surface clutter, creates the neutral, spacious look that photographs best and attracts the most interest from potential guests.
Should I turn lights on during a property photo shoot?
Turn on every light source in the property, including lamps, overhead fittings, and under-cabinet lighting. Layered light creates warmth and depth that natural light alone cannot produce in wide-angle property photographs.
Does storing clutter in cupboards work for a photo shoot?
Storing clutter in cupboards or garages signals limited storage to viewers and can reduce the perceived value of the property. Remove items from the property entirely or place them in off-site storage before the photographer arrives.